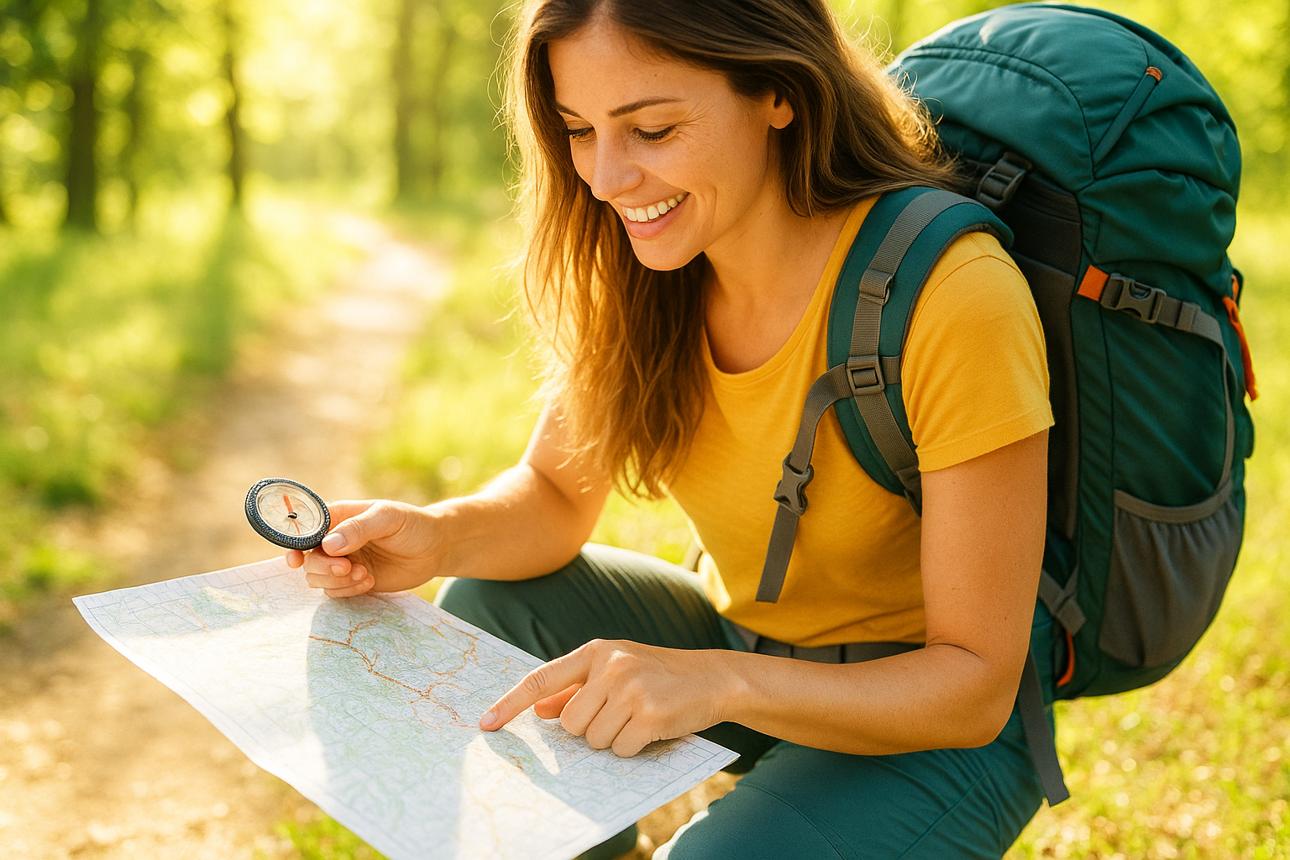
A hiking trip can feel wonderfully simple: choose a trail, put on your boots, and enjoy the scenery. But even a well-marked route can become confusing when paths split, signs are missing, or mobile reception disappears.
Knowing how to navigate is an important outdoor skill, whether you are exploring a local woodland trail or tackling a longer countryside walk. You do not need to become an expert map reader overnight. A few basic techniques and some preparation can make your next hike safer and more enjoyable.
Here is how to get started with trail maps, offline navigation, and simple route-planning habits.
1. Study Your Route Before Leaving Home
Before setting off, take a few minutes to understand the route you intend to follow.
Look at the starting point, the destination, the total distance, and the expected walking time. Check whether the trail includes steep climbs, river crossings, exposed sections, or alternative paths.
Pay attention to junctions, too. A route that looks straightforward on a screen can become confusing when several paths meet in the same place.
It is also worth checking recent trail notices, access restrictions, and weather conditions. A route that is suitable on a dry summer morning may be much more challenging after heavy rain.
If you are hiking with beginners or children, choose a route that matches the group’s fitness and experience rather than relying solely on the distance shown on the map.
2. Download an Offline Map
One of the simplest navigation preparations is downloading a map before you leave home.
Many hiking and navigation apps allow users to save maps for offline use. Once downloaded, the map may remain available even when mobile data is unavailable, although features such as live weather updates or online route searches may still require a connection.
Before your trip:
- Download the map for the entire hiking area.
- Save your intended route and important waypoints.
- Open the downloaded map with your phone in airplane mode to check that it works.
- Make sure your phone is fully charged.
- Consider carrying a power bank for longer walks.
Do not assume that a route saved in an app automatically means every map detail is available offline. Check the app’s settings and offline limitations beforehand.
Offline navigation is useful, but it should not be your only backup. A dead battery, damaged phone, or software problem can leave you without access to your route.
3. Learn a Few Basic Map Symbols
You do not need to memorise every symbol on a topographic map to begin hiking confidently. Start by learning the features most relevant to your route.
| Map feature | What it helps you identify |
|---|---|
| Contour lines | Changes in elevation and the steepness of the terrain |
| Trails and paths | Walking routes and possible junctions |
| Rivers and streams | Water features and potential crossing points |
| Roads and tracks | Access points and alternative escape routes |
| Buildings and landmarks | Features that can help confirm your location |
| North indicator | The map’s orientation |
Contour lines are particularly useful. Lines packed closely together generally indicate steeper terrain, while wider spacing usually suggests gentler slopes.
Understanding the landscape before you reach it helps you anticipate difficult sections instead of being surprised by them.
4. Use Landmarks to Check Your Position
Checking your location regularly is often easier than waiting until you feel completely lost.
Look for recognisable features such as a bridge, a trail junction, a distinctive hill, or a building shown on your map. When you reach one, compare what you can see with the route on your screen or paper map.
This helps you confirm that you are following the intended path.
Try to notice the direction in which you are travelling, too. If the trail bends around a hill or crosses a stream, check that the map shows the same feature.
Avoid relying entirely on memory. After walking for an hour, several similar-looking woodland paths can easily blur together.
A quick location check at each major junction can prevent a small navigation mistake from becoming a much longer detour.
5. Carry a Paper Map and Compass When Appropriate
Digital navigation is convenient, but traditional tools still have a place in outdoor preparation.
A suitable paper map does not depend on battery power, and a compass can help you establish direction when visibility is poor or the surrounding landscape is unfamiliar.
For a simple, well-marked local walk, you may not need advanced navigation skills. For remote routes, mountainous terrain, or longer hikes, learning to use a map and compass can provide a valuable backup.
Practise before your trip rather than trying to learn everything during an unexpected navigation problem.
Choose a map that covers your entire route, protect it from rain, and make sure you understand the basic symbols and scale. If you plan to hike in remote areas, consider learning how to take a compass bearing and relate it to the map.
6. Know When to Stop and Reassess
If the trail no longer matches your map, resist the temptation to keep walking in the hope that everything will become clear.
Stop somewhere safe, check your last known location, and review the route. If you are with other people, discuss the next step together rather than splitting up to search for the path.
If you cannot confidently establish your position, returning along a known route may be safer than continuing into unfamiliar terrain. However, avoid moving blindly if conditions are dangerous or retracing your steps would create additional risk.
For serious difficulties, contact local emergency services when possible and follow their instructions. In remote terrain, conserve your phone battery and use your emergency equipment appropriately.
The most important navigation skill is not memorising every trail. It is recognising when something is wrong and responding calmly.
7. Build a Simple Navigation Kit Without Overspending
You do not need to buy an expensive collection of outdoor electronics to prepare for ordinary hikes.
Start with equipment that suits your routes and experience level.

Consider these essentials:
- A reliable navigation app: Choose one that provides suitable maps and offline functionality for your hiking area.
- A paper map: Useful as a backup, particularly on unfamiliar or remote routes.
- A basic compass: Helpful when you know how to use it.
- A power bank and charging cable: Useful for keeping your phone available throughout the walk.
- A small waterproof map case: Helps protect paper maps in wet conditions.
Buy equipment according to the places you actually hike. Someone walking familiar local trails every weekend will have different needs from someone exploring remote mountain routes.
Check whether your existing phone, backpack, or outdoor equipment already meets some of these needs before purchasing replacements.
8. Make Navigation Part of Your Hiking Routine
Good navigation is less about constantly staring at a screen and more about developing consistent habits.
Before starting, review your route and identify the main junctions. During the hike, check your position at important landmarks and whenever the terrain differs from what you expected.
When you finish, think about what worked well. Was the map easy to read? Did your phone battery last? Were there any confusing junctions that you should prepare for next time?
These small observations will help you become more confident with each outing.
If you are hiking with friends, make sure everyone understands the general route and knows what to do if the group becomes separated. Do not assume that one person’s phone is enough for the entire group.
Final Thoughts
Learning to navigate a hiking trail does not have to be complicated or expensive. Start by researching your route, downloading an offline map, learning a few basic symbols, and checking your position regularly.
For more challenging walks, consider carrying a paper map and compass and learning how to use them before you need them.
Most importantly, remember that navigation is part of the adventure, not a distraction from it. A little preparation can help you spend less time worrying about where the path leads and more time enjoying the landscape around you.